Hot Wax Sculpting Tools
Hot tools allow you to melt wax on to a sculpt or to remove wax quickly.
When working with heated tools, you’re effectively working with a liquid (wax) that requires different sculpting strategies compared to adding clay with your fingers.
Wax tool applications
There a few essential applications for hot tools:

Blocking
Blocking is building up relatively large amounts of wax on a sculpt, typically when roughing in large elements of the design. This process usually requires a spoon or spatula shaped tool and higher temperatures to scoop up and apply wax to a sculpt.

Welding
Welding is the process of joining two pieces of wax. This is done by holding the pieces together and inserting a hot probe tool between them to melt their facing surfaces. Welding is useful when you need to add features to the main figure or repair a part of the model that has broken off.

Detailing
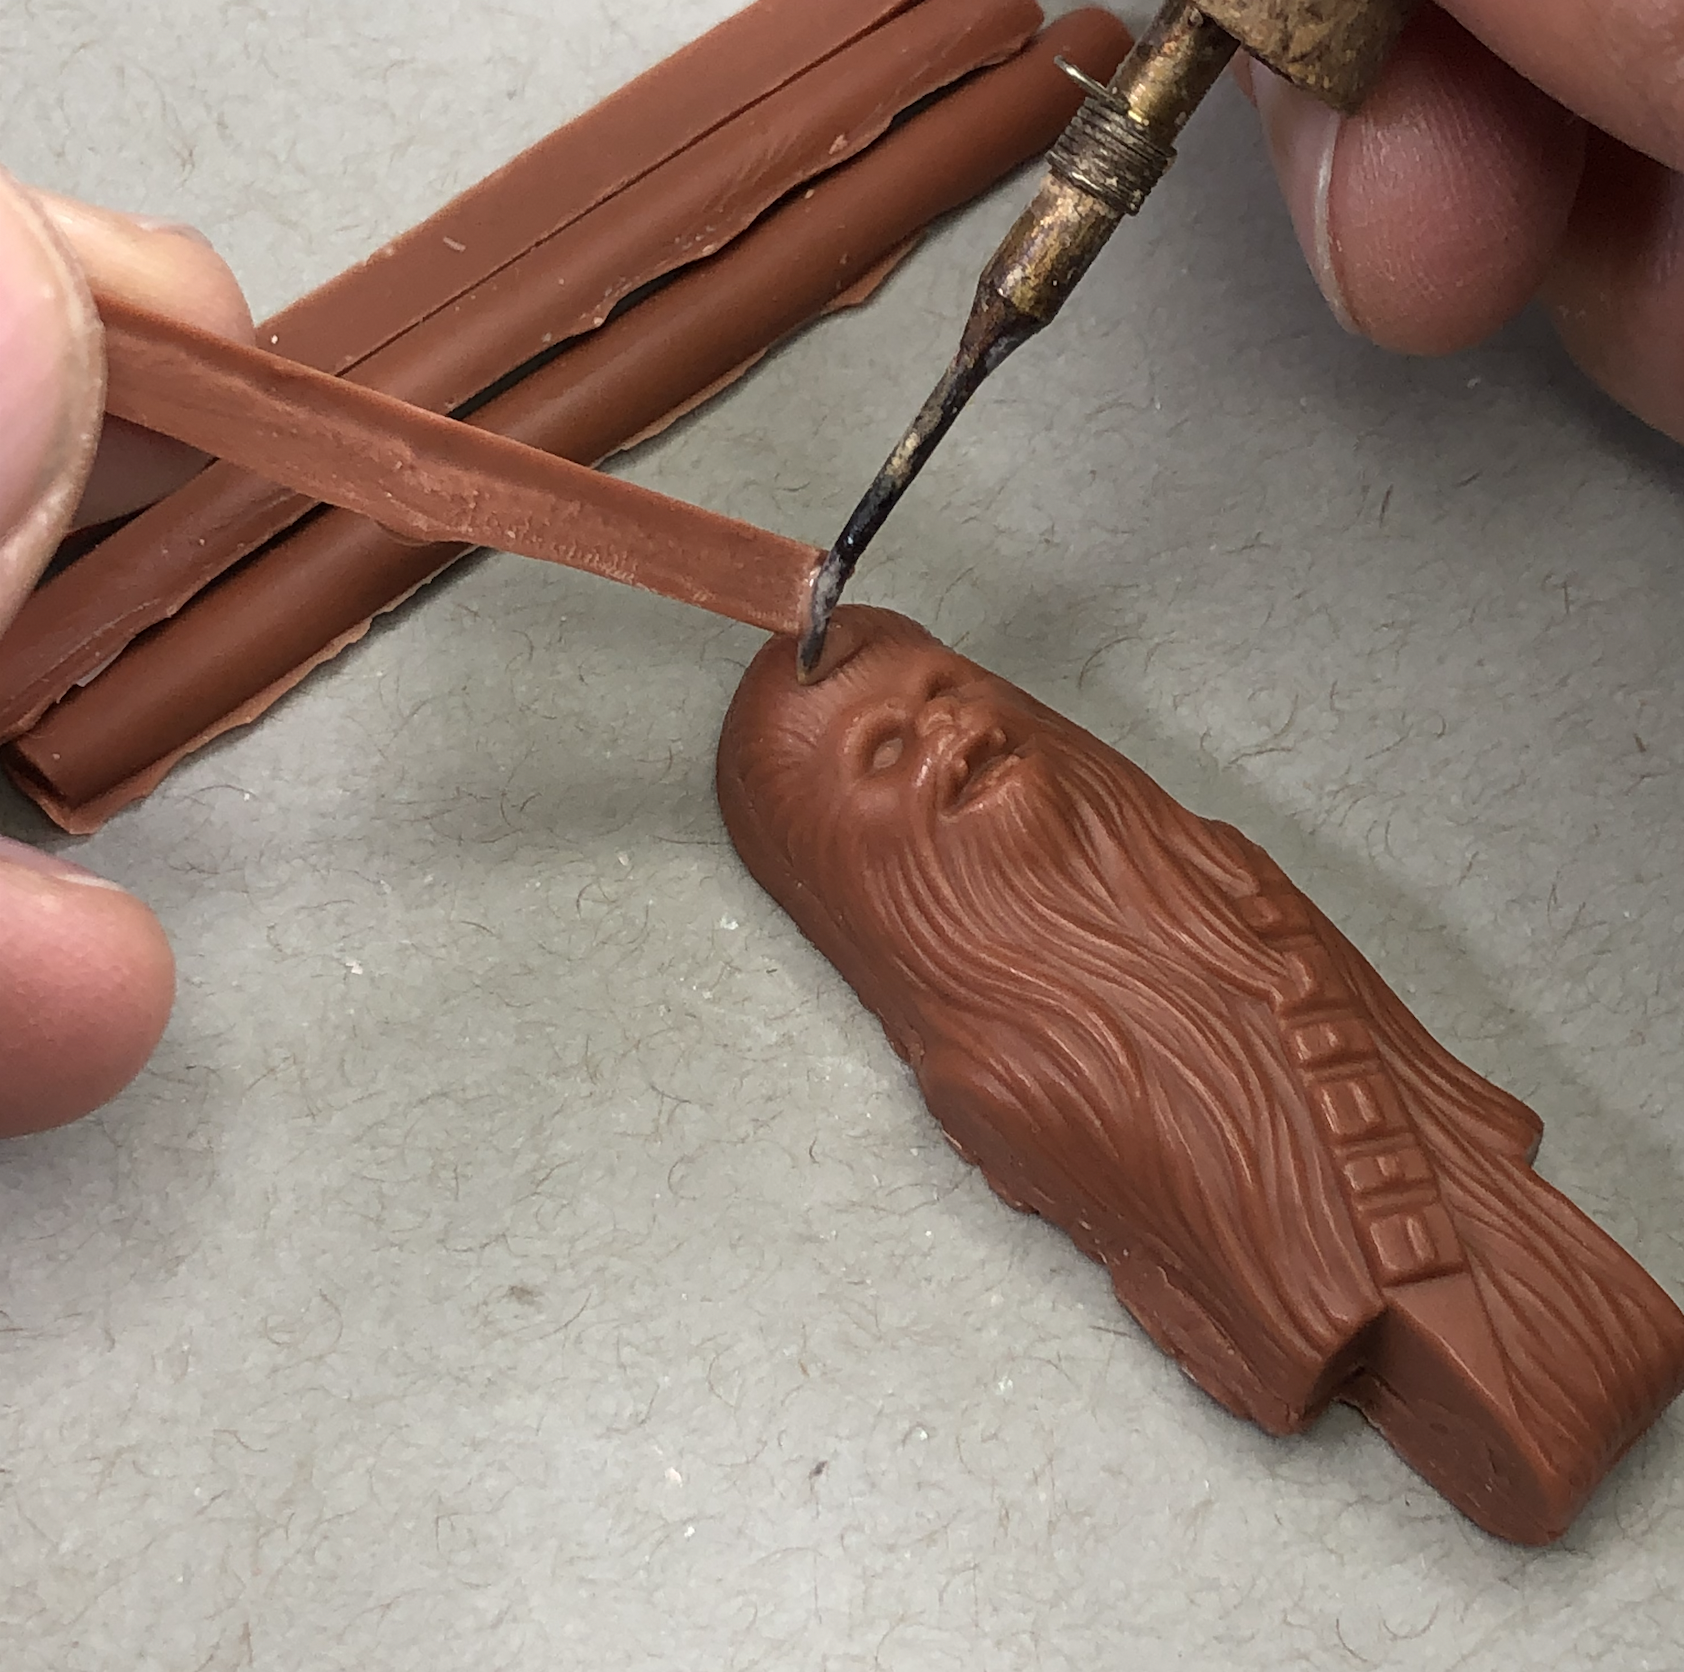
At lower temperatures, when the wax doesn’t run off the tool as easily, a hot probe tool can be used to scribe designs, add buttons or rivets, or build up other small details. Generally though, you’ll want to use cold tools to refine your details.
Working with melted wax
There are a couple of things to note about working with wax in its liquid form.
When adding melted wax to your sculpt, be sure the hot metal touches the surface of your model so that the new wax bonds with your model. Otherwise, wax that is simply dropped on the model can easily chip off.
Melted wax cools with rounded edges. To get hard, angled edges, add enough wax to be able to carve back to your desired shape.
Digging into wax with hot tools can leave a ridge of melted wax surrounding your cut area. This may need to be cleaned up later with the use of cold tools.
The combination of hot and cold tools will allow you to do pretty much anything you desire to your model.
There are two varieties of hot tools: fuel burning and electric.
Alcohol lamps
! Warning – Be careful when working with open flames. Read all safety instructions and warning labels on fuel.
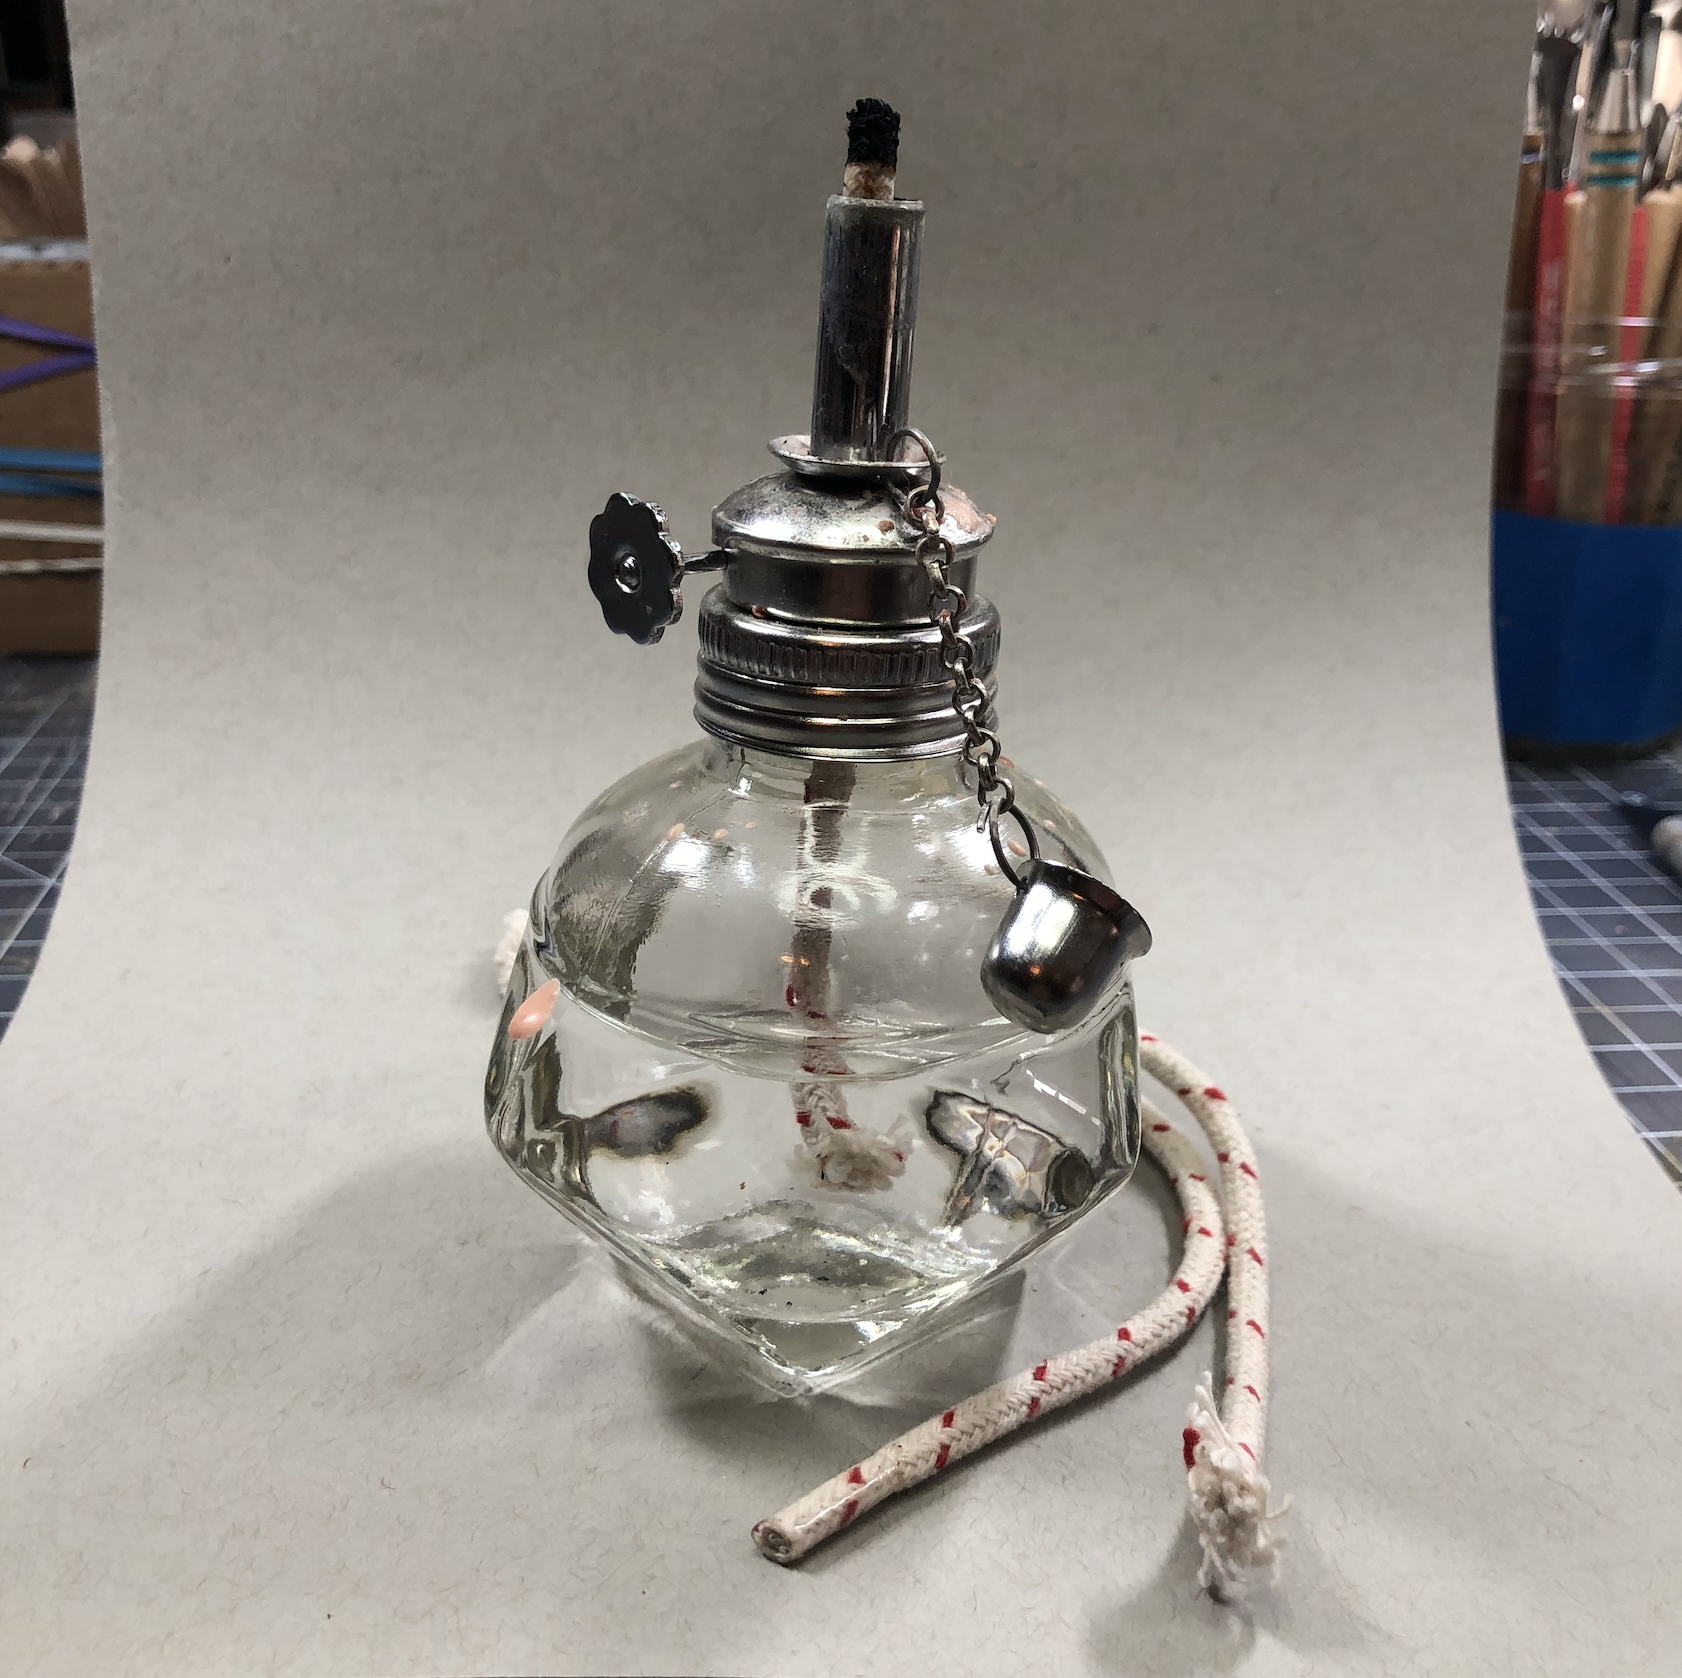
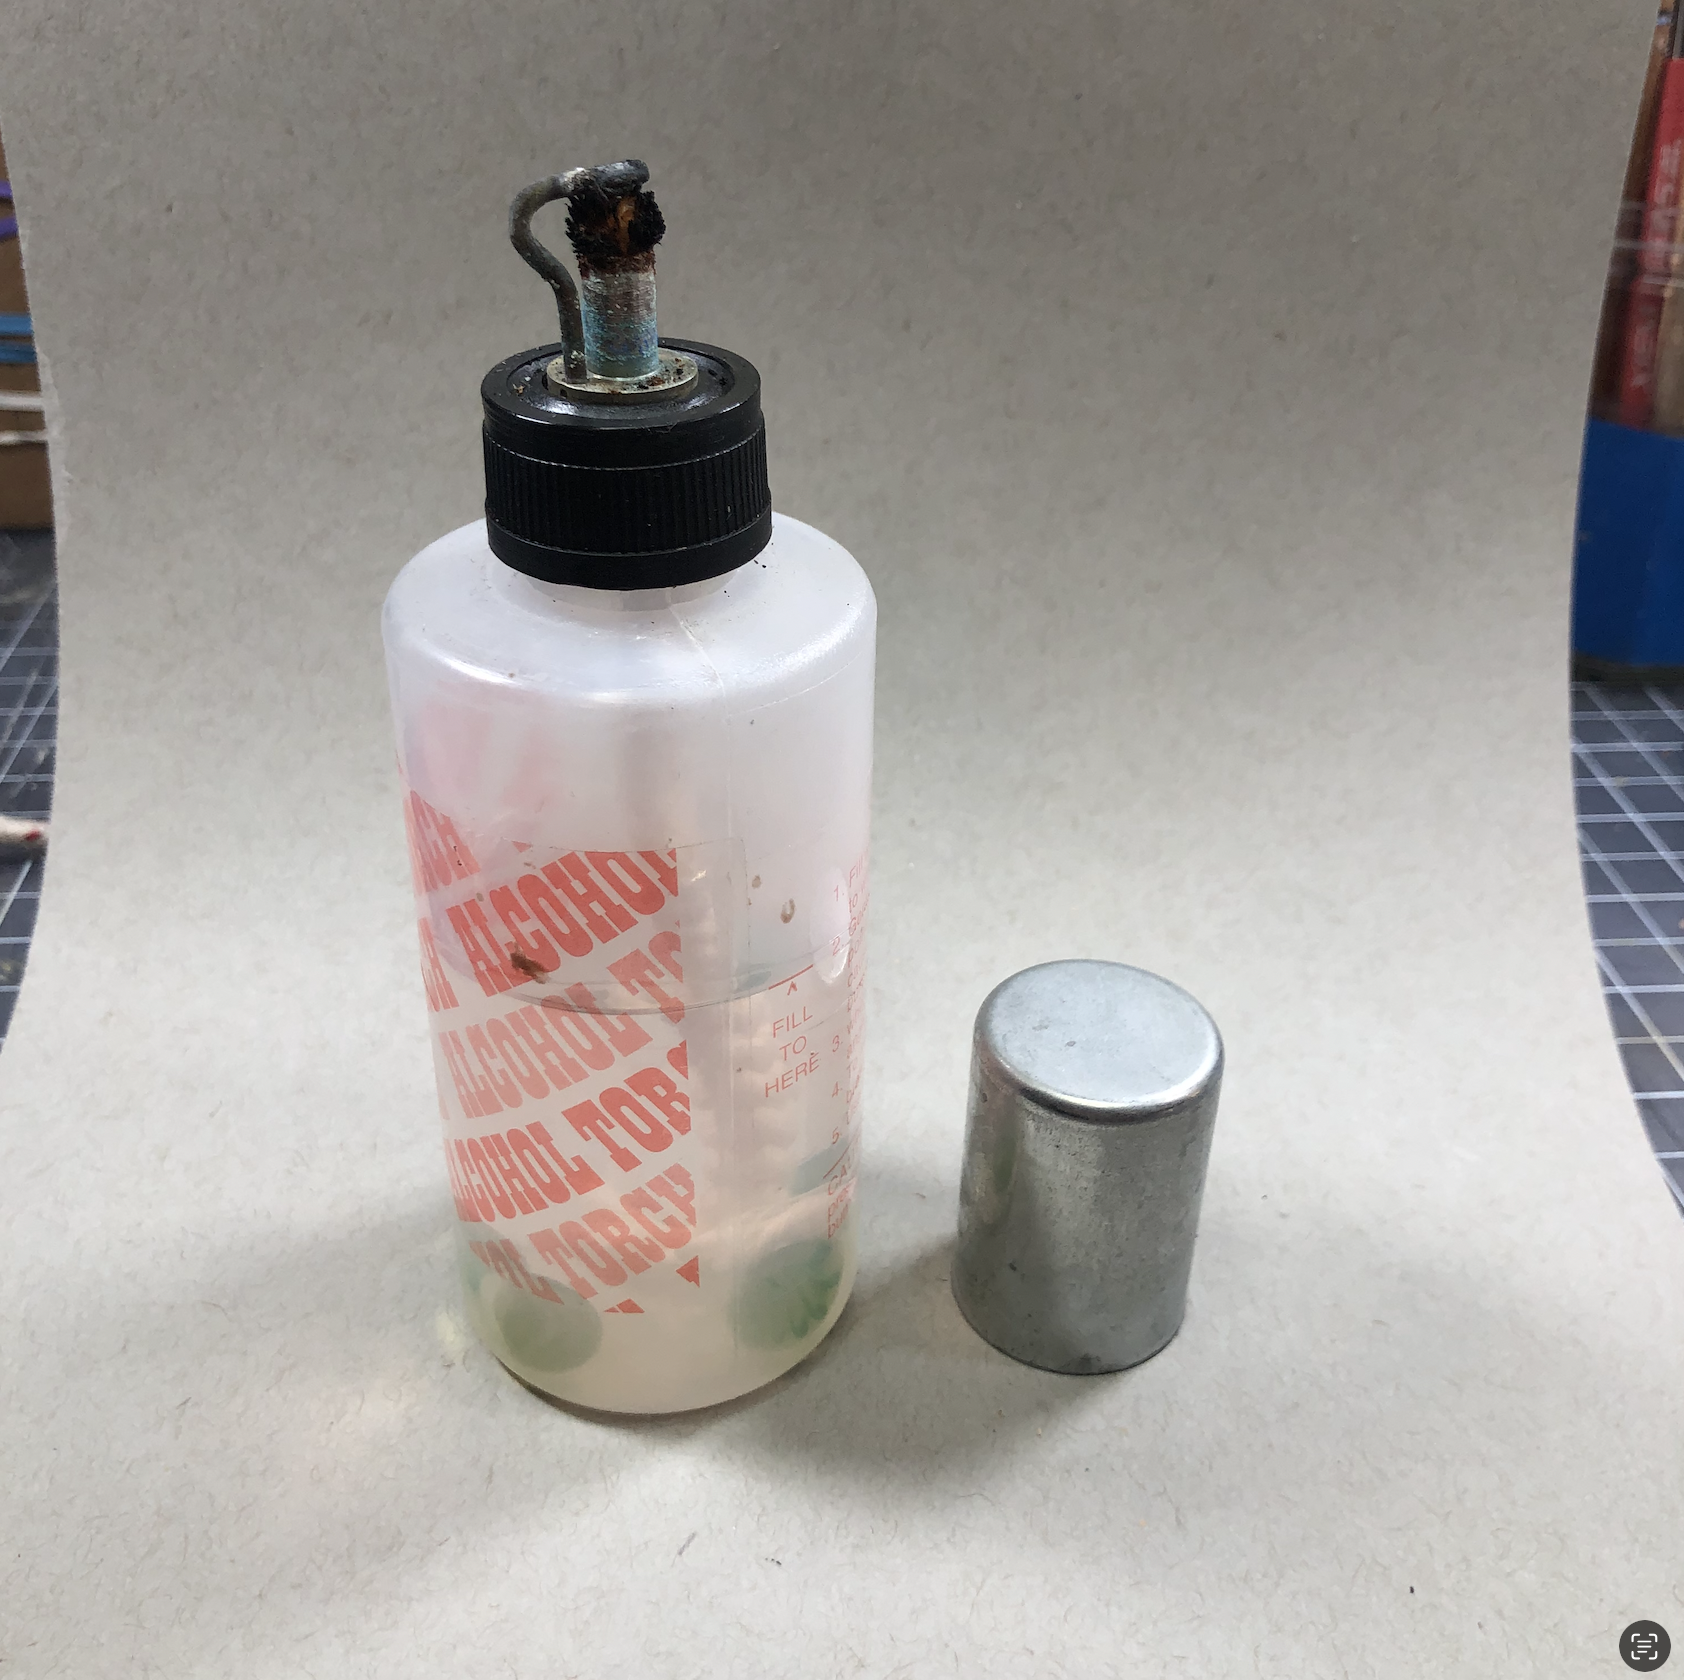
Before electric heating tools, alcohol lamps were an essential for heating metal carving tools. Alcohol lamps are small vessels with wicks that use denatured alcohol as a fuel. The denatured alcohol burns clean so you don’t get soot on your tools like a regular candle. Soot can transfer from the tool to your wax and make the model look dirty and difficult to see details.

Each time a sculptor needs to add wax to their model, they’ll first heat their tool before dipping it in a spare piece of wax to melt new wax onto the tool. If the tool isn’t hot enough, the wax may be too cool to bond with the wax model and so they’ll pass the tool back over the flame to reheat the wax.
The size of the flame can affect how quickly your metal tools will heat up. The size can be varied by adjusting the height of the wick by turning the adjuster knob on the lamp. Wicks also come in different diameters which control how wide the flame gets.
Tip – Ensure that your wicks are thoroughly soaked in the alcohol. This will extend the life of the wick.
Advantage – Alcohol lamps are a cheap option for experimenting with wax sculpting. Also, you aren’t limited to the tips that come with an electric carver. Any metal tool can be heated and used for sculpting.
Disadvantage – Continuously reheating your metal tools can be tedious and slows down the speed of building up wax on your sculpt.
Where to find alcohol lamp supplies:
Lamp & wicks – Jewelry supply retailers are the best place to find alcohol lamps.
Denatured alcohol – Outdoor gear retailers that sell camping stove fuel. Some states allow the sale of denatured alcohol as a paint stripper at home and garden retailers. Art or molding/casting supply retails may also carry it. Check online retailers about shipping flammable liquids.
Electric wax carver
! Warning – Be careful when using hot electric tools. Read all safety instructions that come with each device.

The Foredom Wax Carver. A high end version that fits in your hand. Sold with various sets of tips.
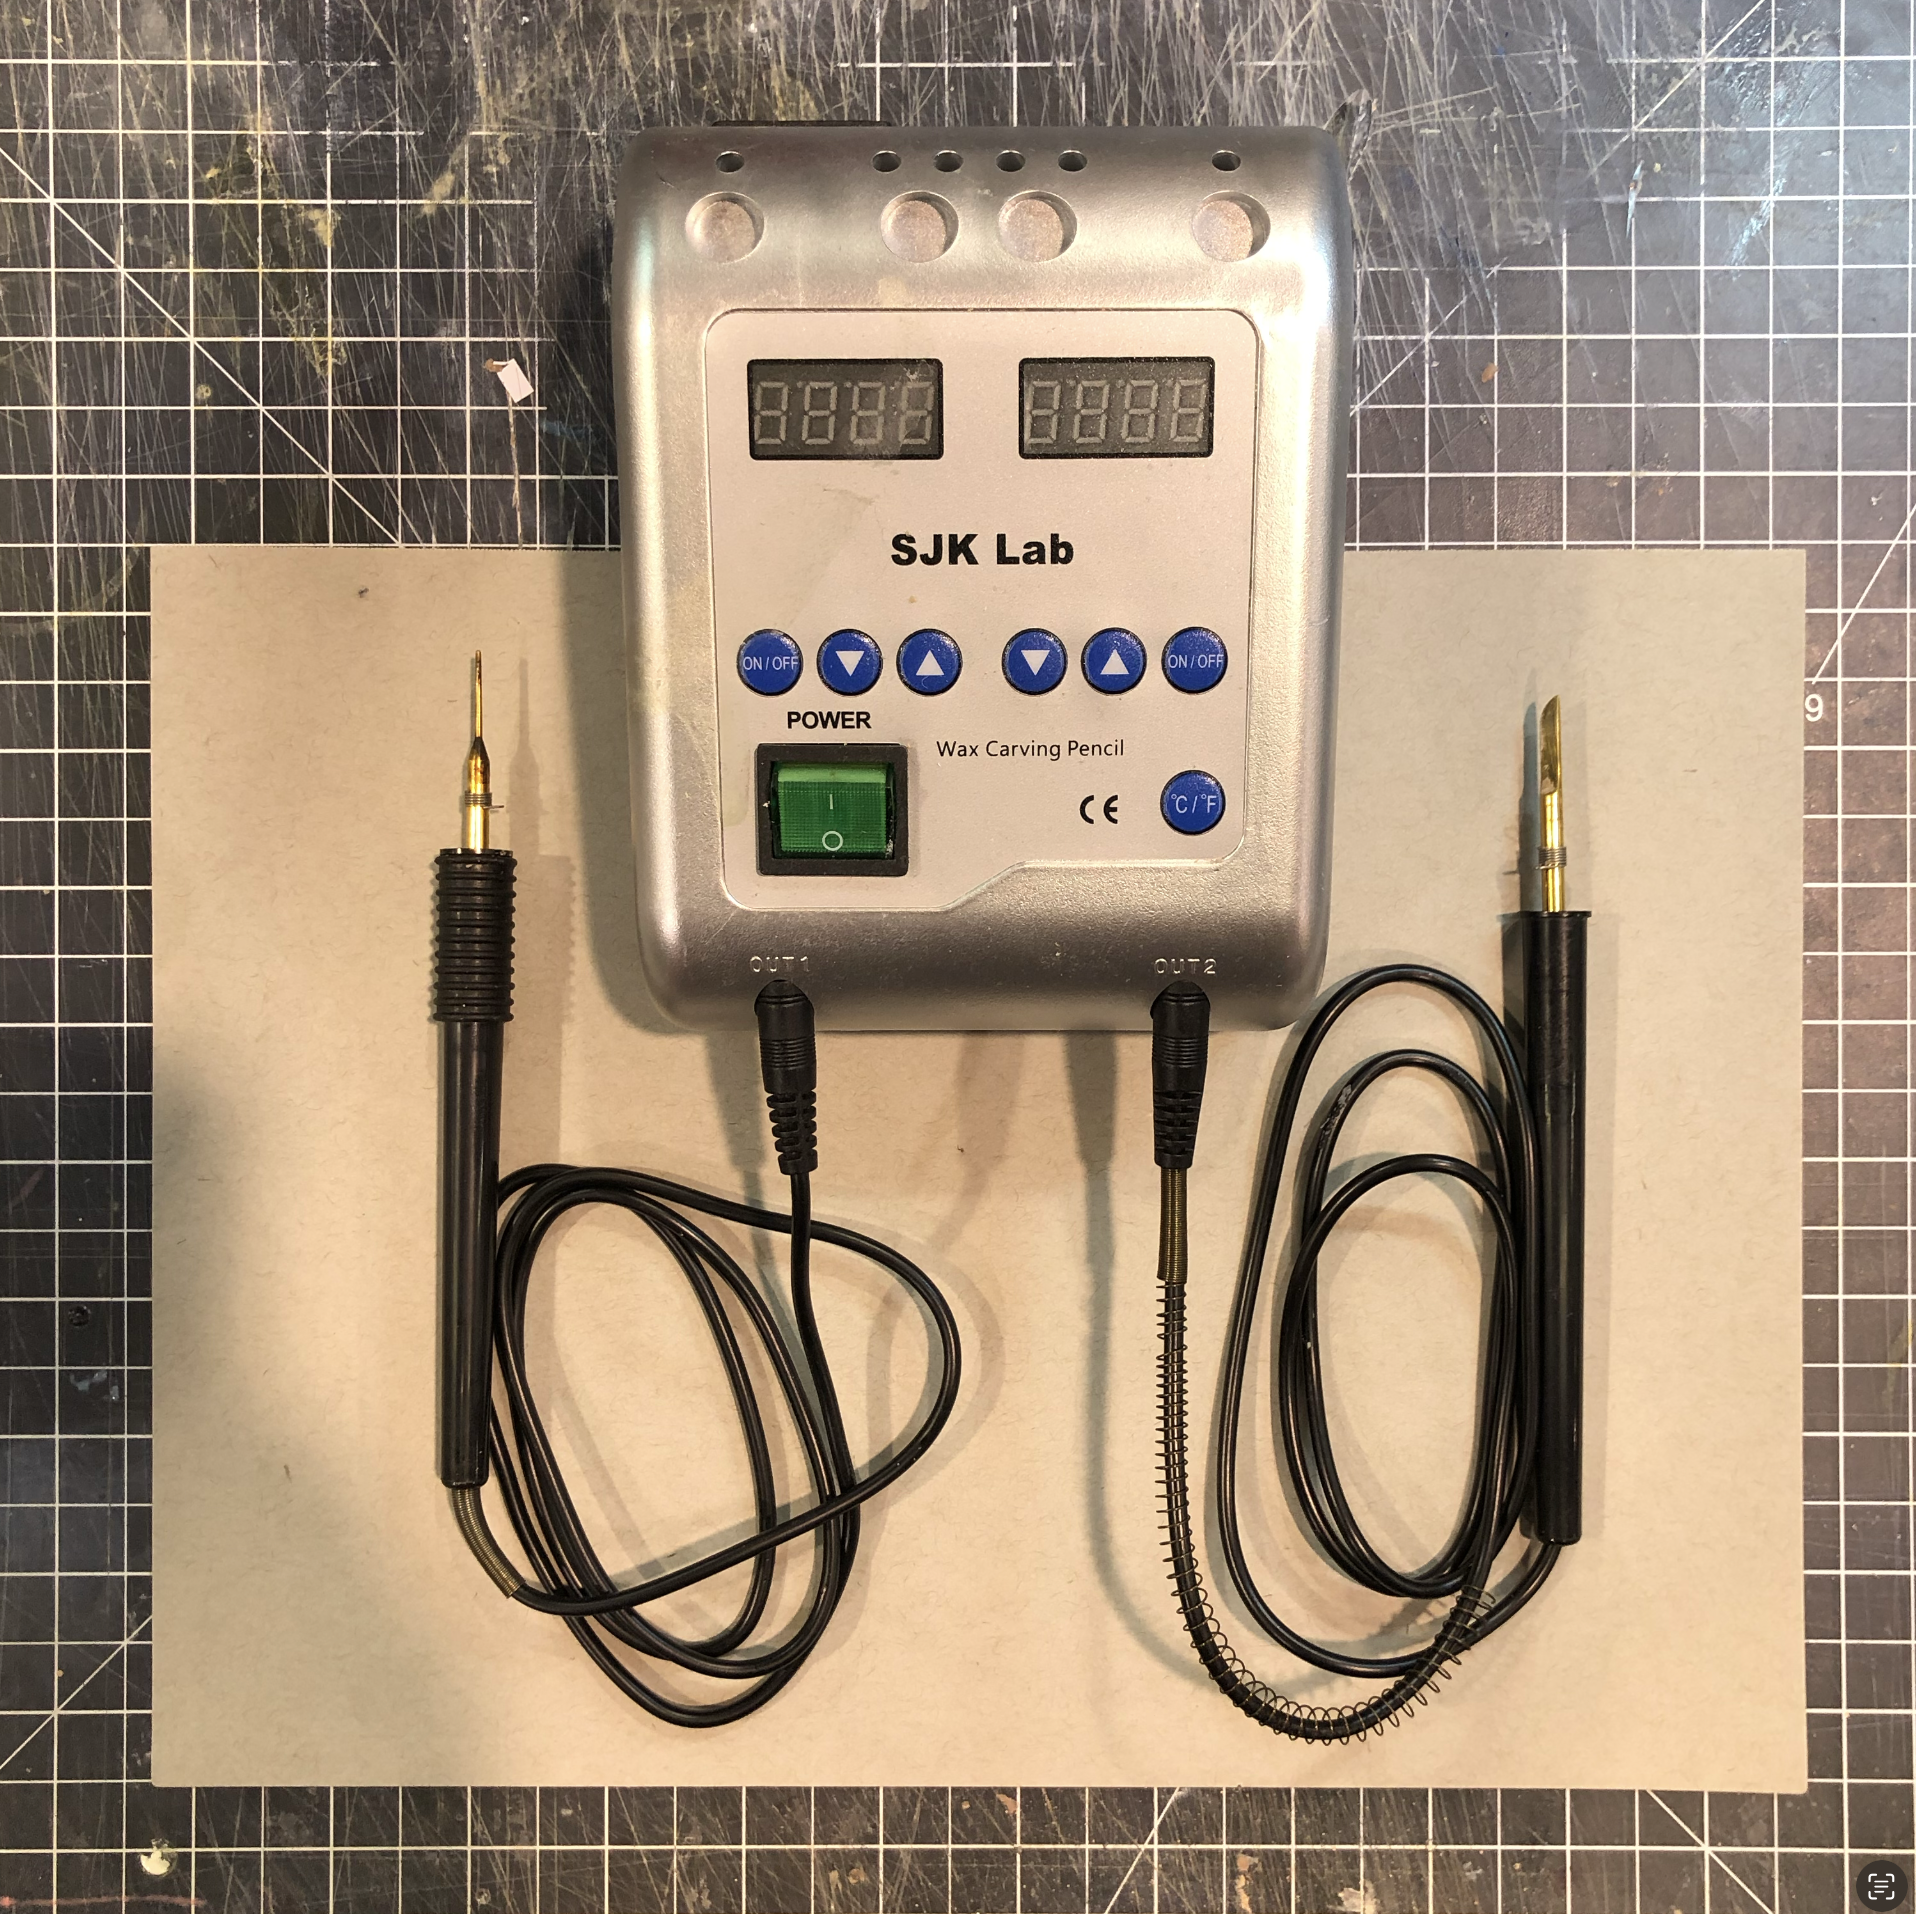
A cheap version with two pens.

A soldering iron with custom tips. Be sure you can adjust the temperature to low.
Electric wax carvers consist of two parts: a handheld pen and a rheostat to control the temperature. At the end of the pen is a heating element that can fit a variety of tips.
A kit typically comes with multiple carving tips made of conductive metal, commonly nichrome. Some brands have additional tips that can be purchased separately. Note that tips are generally unique to a brand of wax carver. Common tips include:
Spoons – Spoon tips are used for applying relatively large quantities of wax to a sculpt and may come in a variety of sizes.
Probes – Probe tips are used for building up small amounts of wax or scribing details onto a sculpt. They might be straight or bent, pointed or dull. Different styles can be used for different applications.
Blades – Blade tips can be useful for rough cutting through large amounts of wax when roughing out the shape of your sculpt.
The rheostat device can vary in size and features depending on the brand. Some rheostats have a simple dial to control the heat and include an indicator light to let you know when it’s on. Others include a digital temperature control with beeping indicators as you adjust the temp. Older models can be as large a tissue box, while others can be as small as an Altoid tin.
Advantage – Maintains heat when adding wax to your sculpt. Compared to alcohol lamps, adding wax with an electric wax carver is much quicker.
Disadvantage – Depending on the quality of your electric wax carver, the heating element may not consistently hold the desired temperature. Wax carvers range in cost from about $50 to $250 USD.
Where to find an electric wax carver & tips – Jewelry or dental supply retailers are the best place to find a variety of electric wax carvers.
Tip – Depending on the brand of wax carver, you may be able to modify the stock tips or create your own.
Cleaning hot tools
From time to time, you may want to clean your hot tools while they’re hot. In this case, you can wipe your tool on a thick organic fiber cloth or dip it into a damp sponge.
With electric wax carvers, wax may build up around the base of the tip, where it connects with the heating element. To remove this build up, let the tip cool and try soaking it in citrus oil. Then brush off with steel wool or a stiff bristle brush. Another method is to have a chunk of upholstery foam nearby and, while the tool is still hot and the wax residue is melted, poke quickly in and out of the foam to clean the residue from your tool tip.
Shopping List
Links may be out of date, but should still give you a sense of what to look for.