Using wax sticks to quickly build up wax
Techniques & Exercises
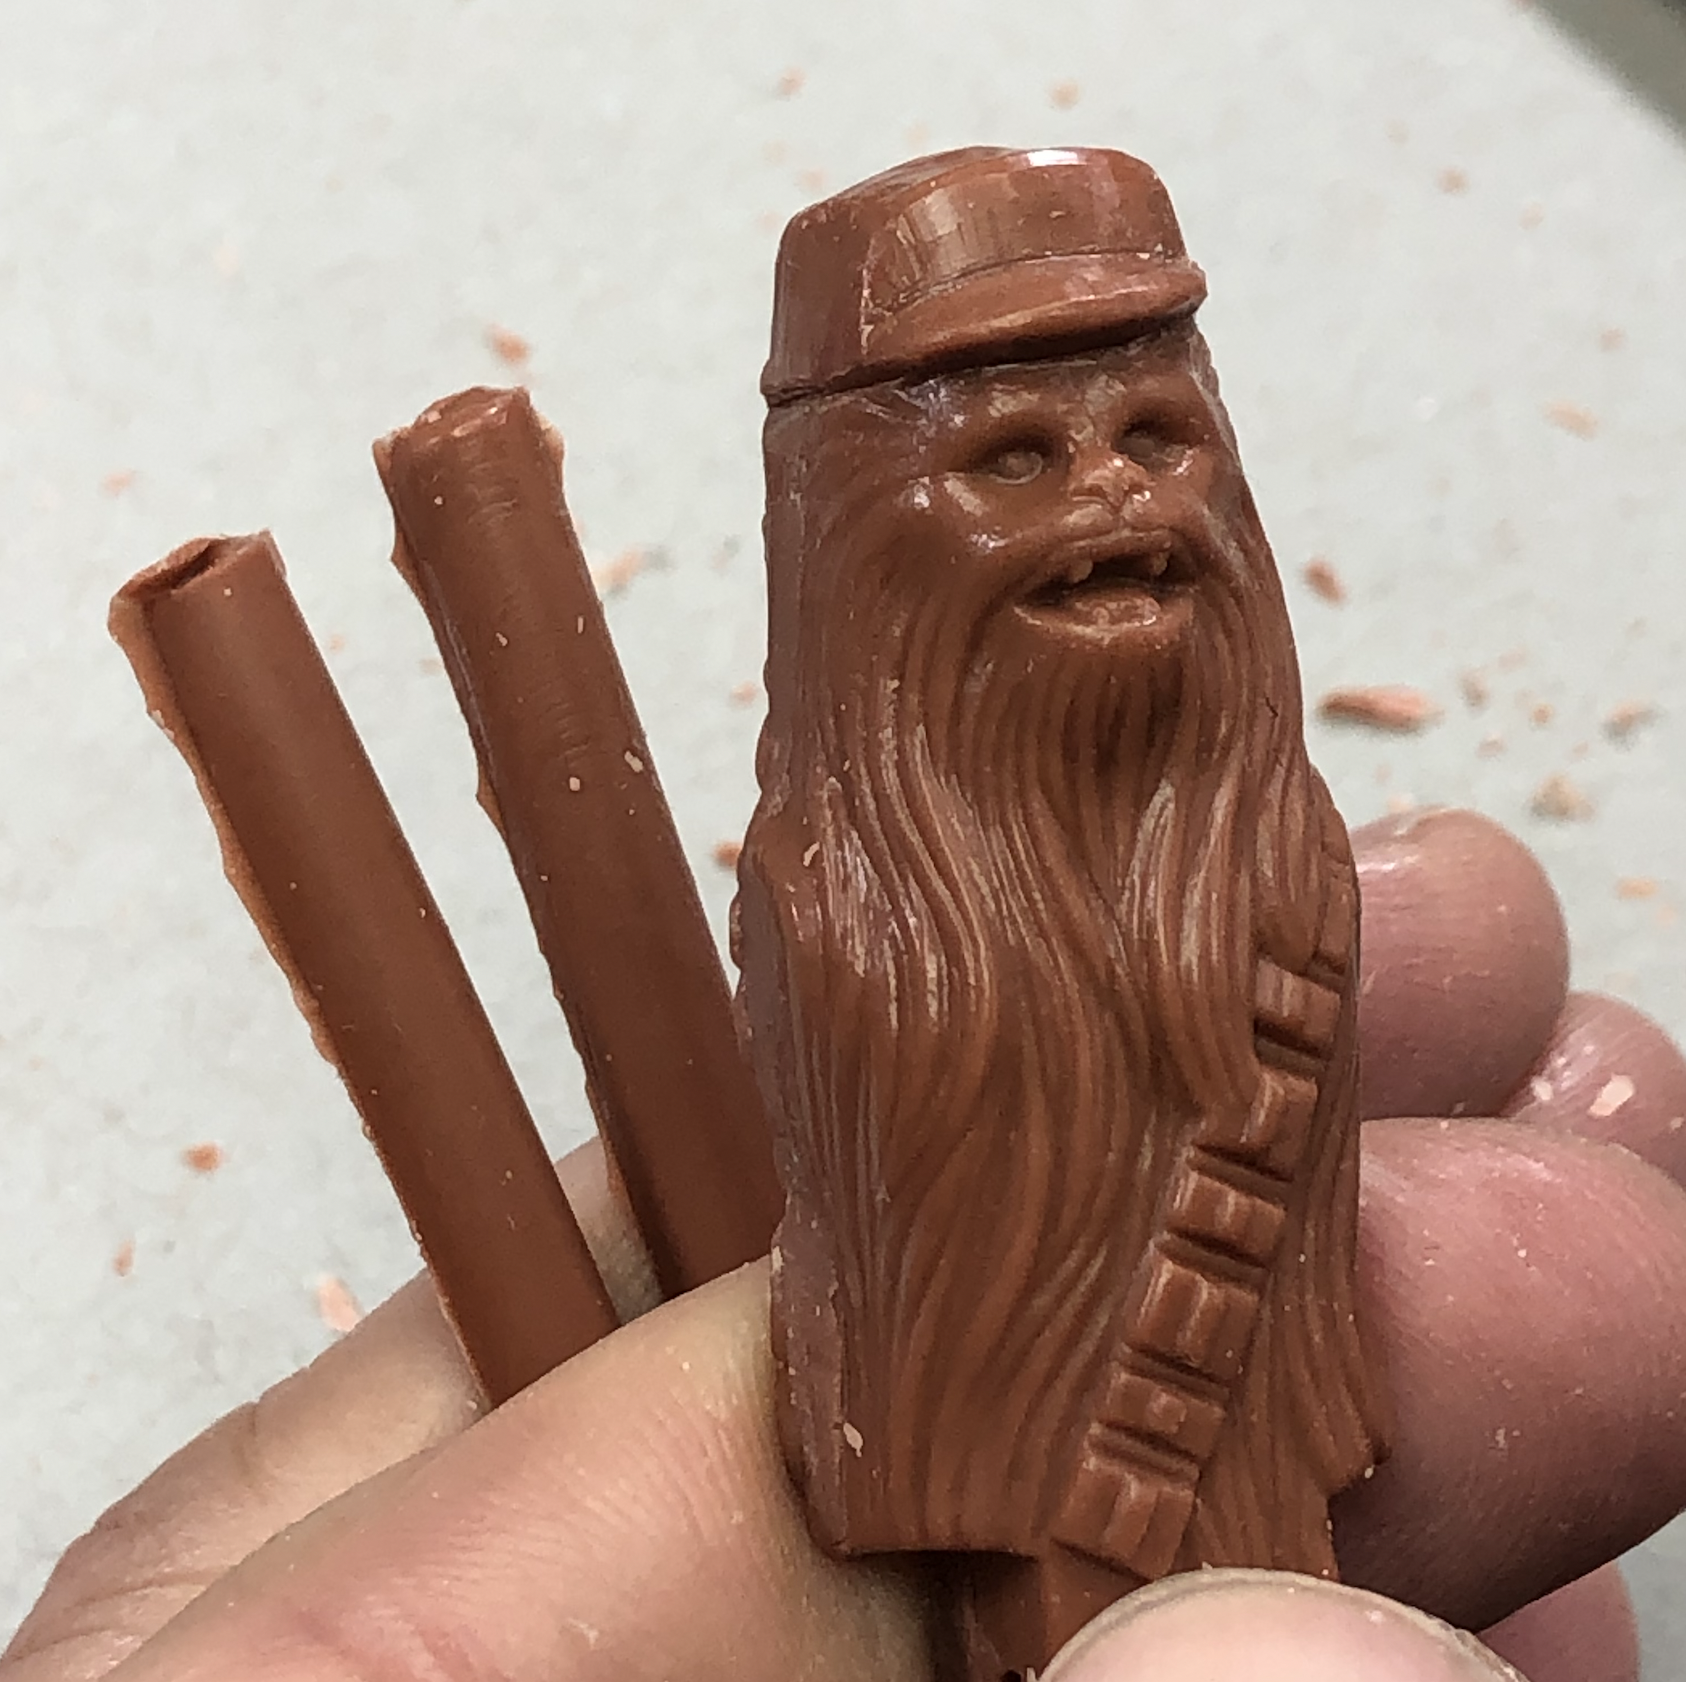
Wax sticks are great for building up a lot of wax in a short period of time. This is especially useful if you’re starting your sculpt in wax instead of from a wax casting.
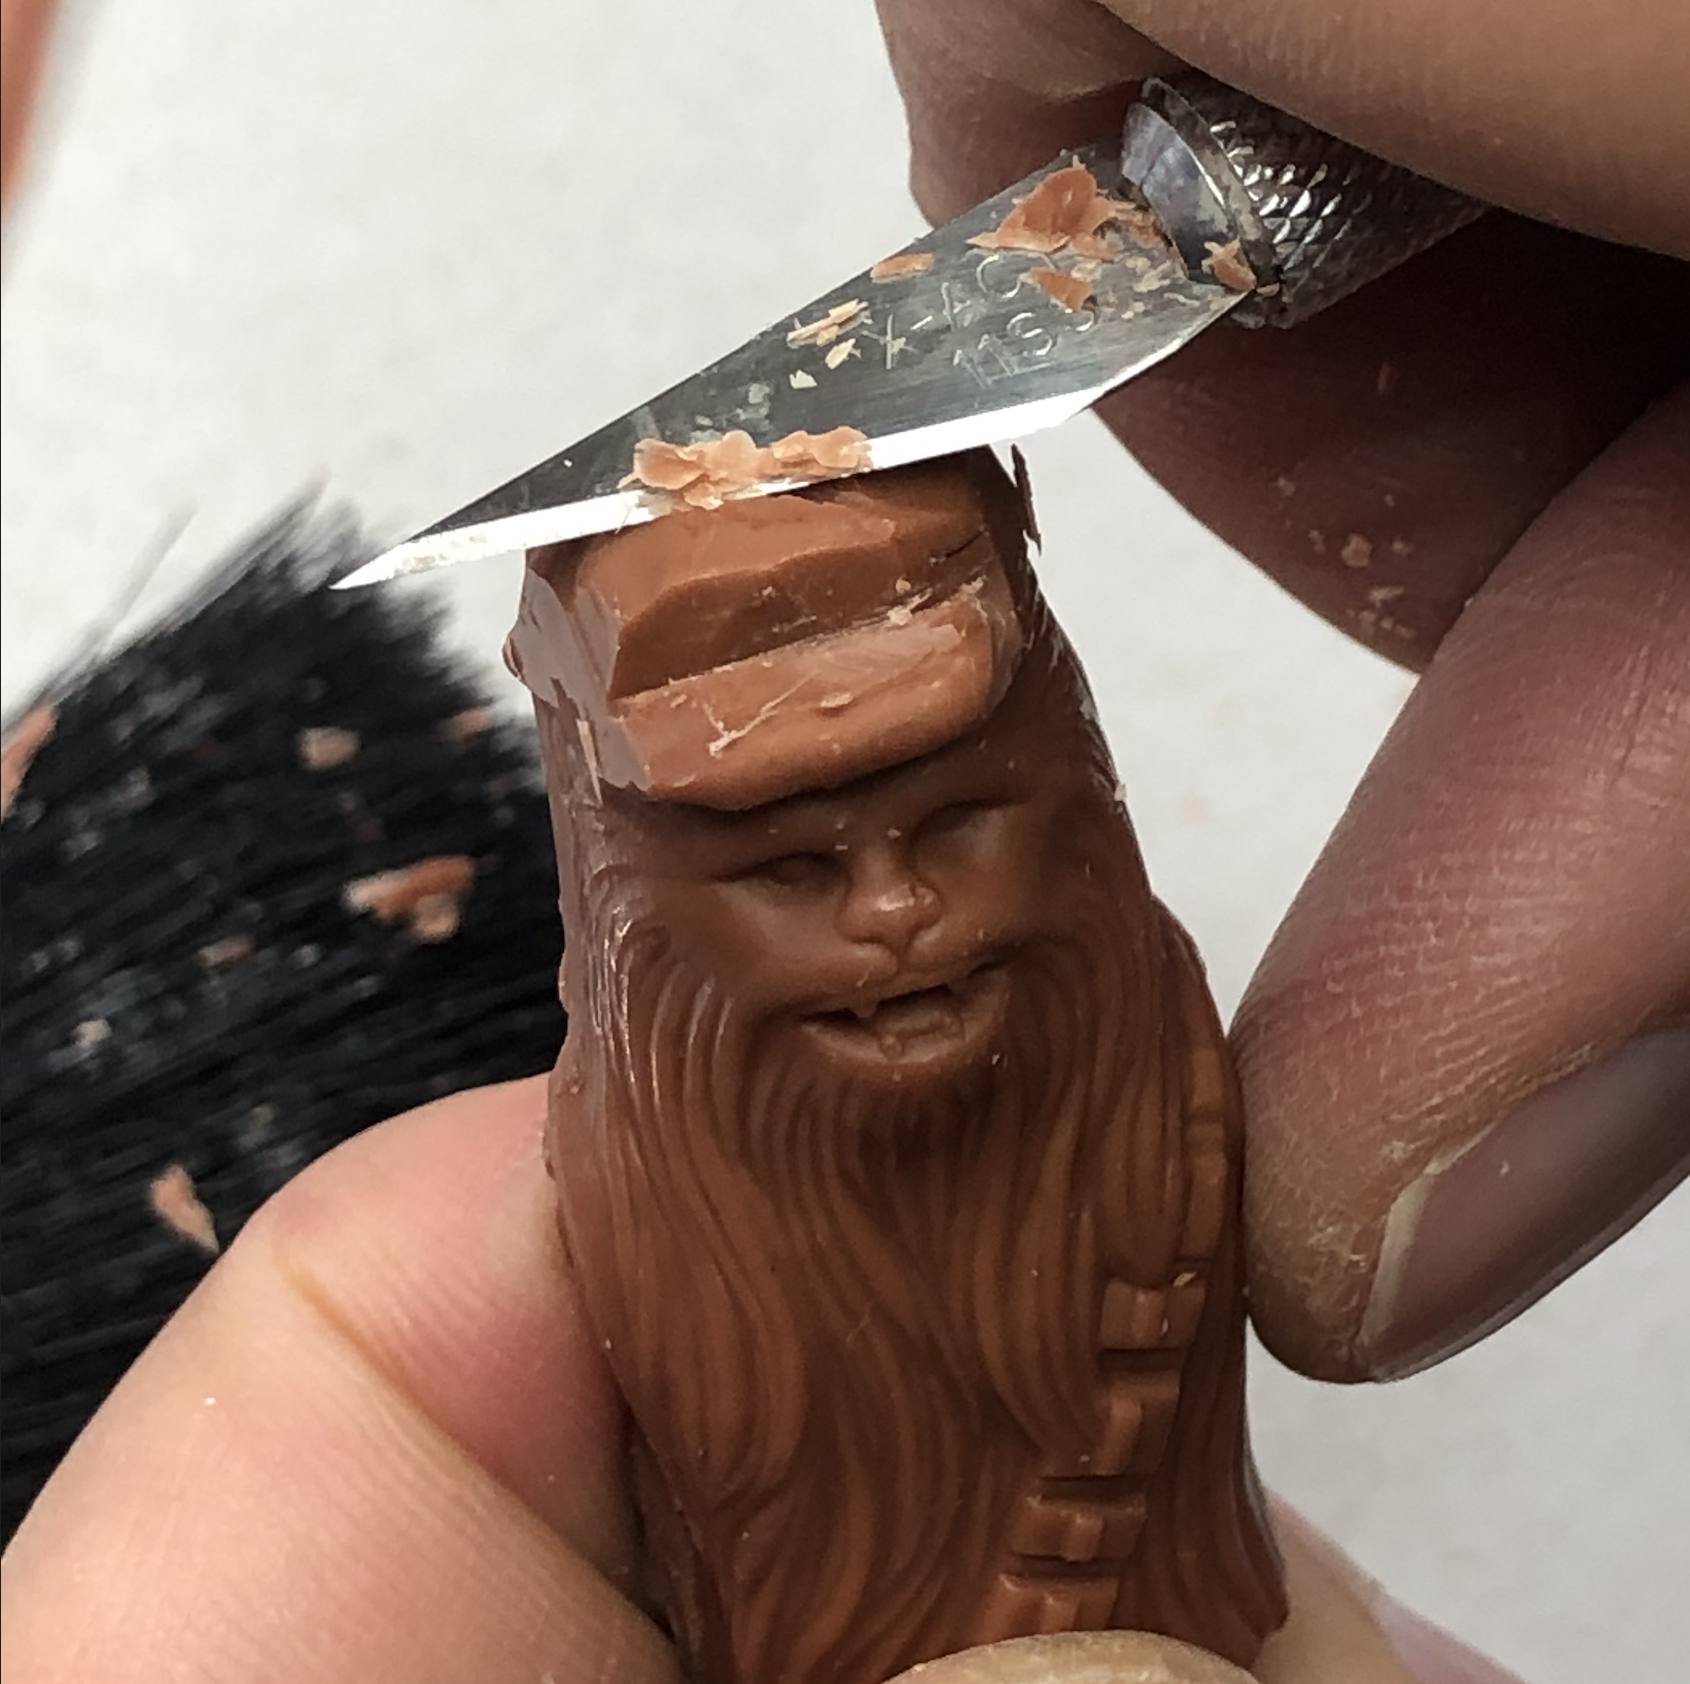
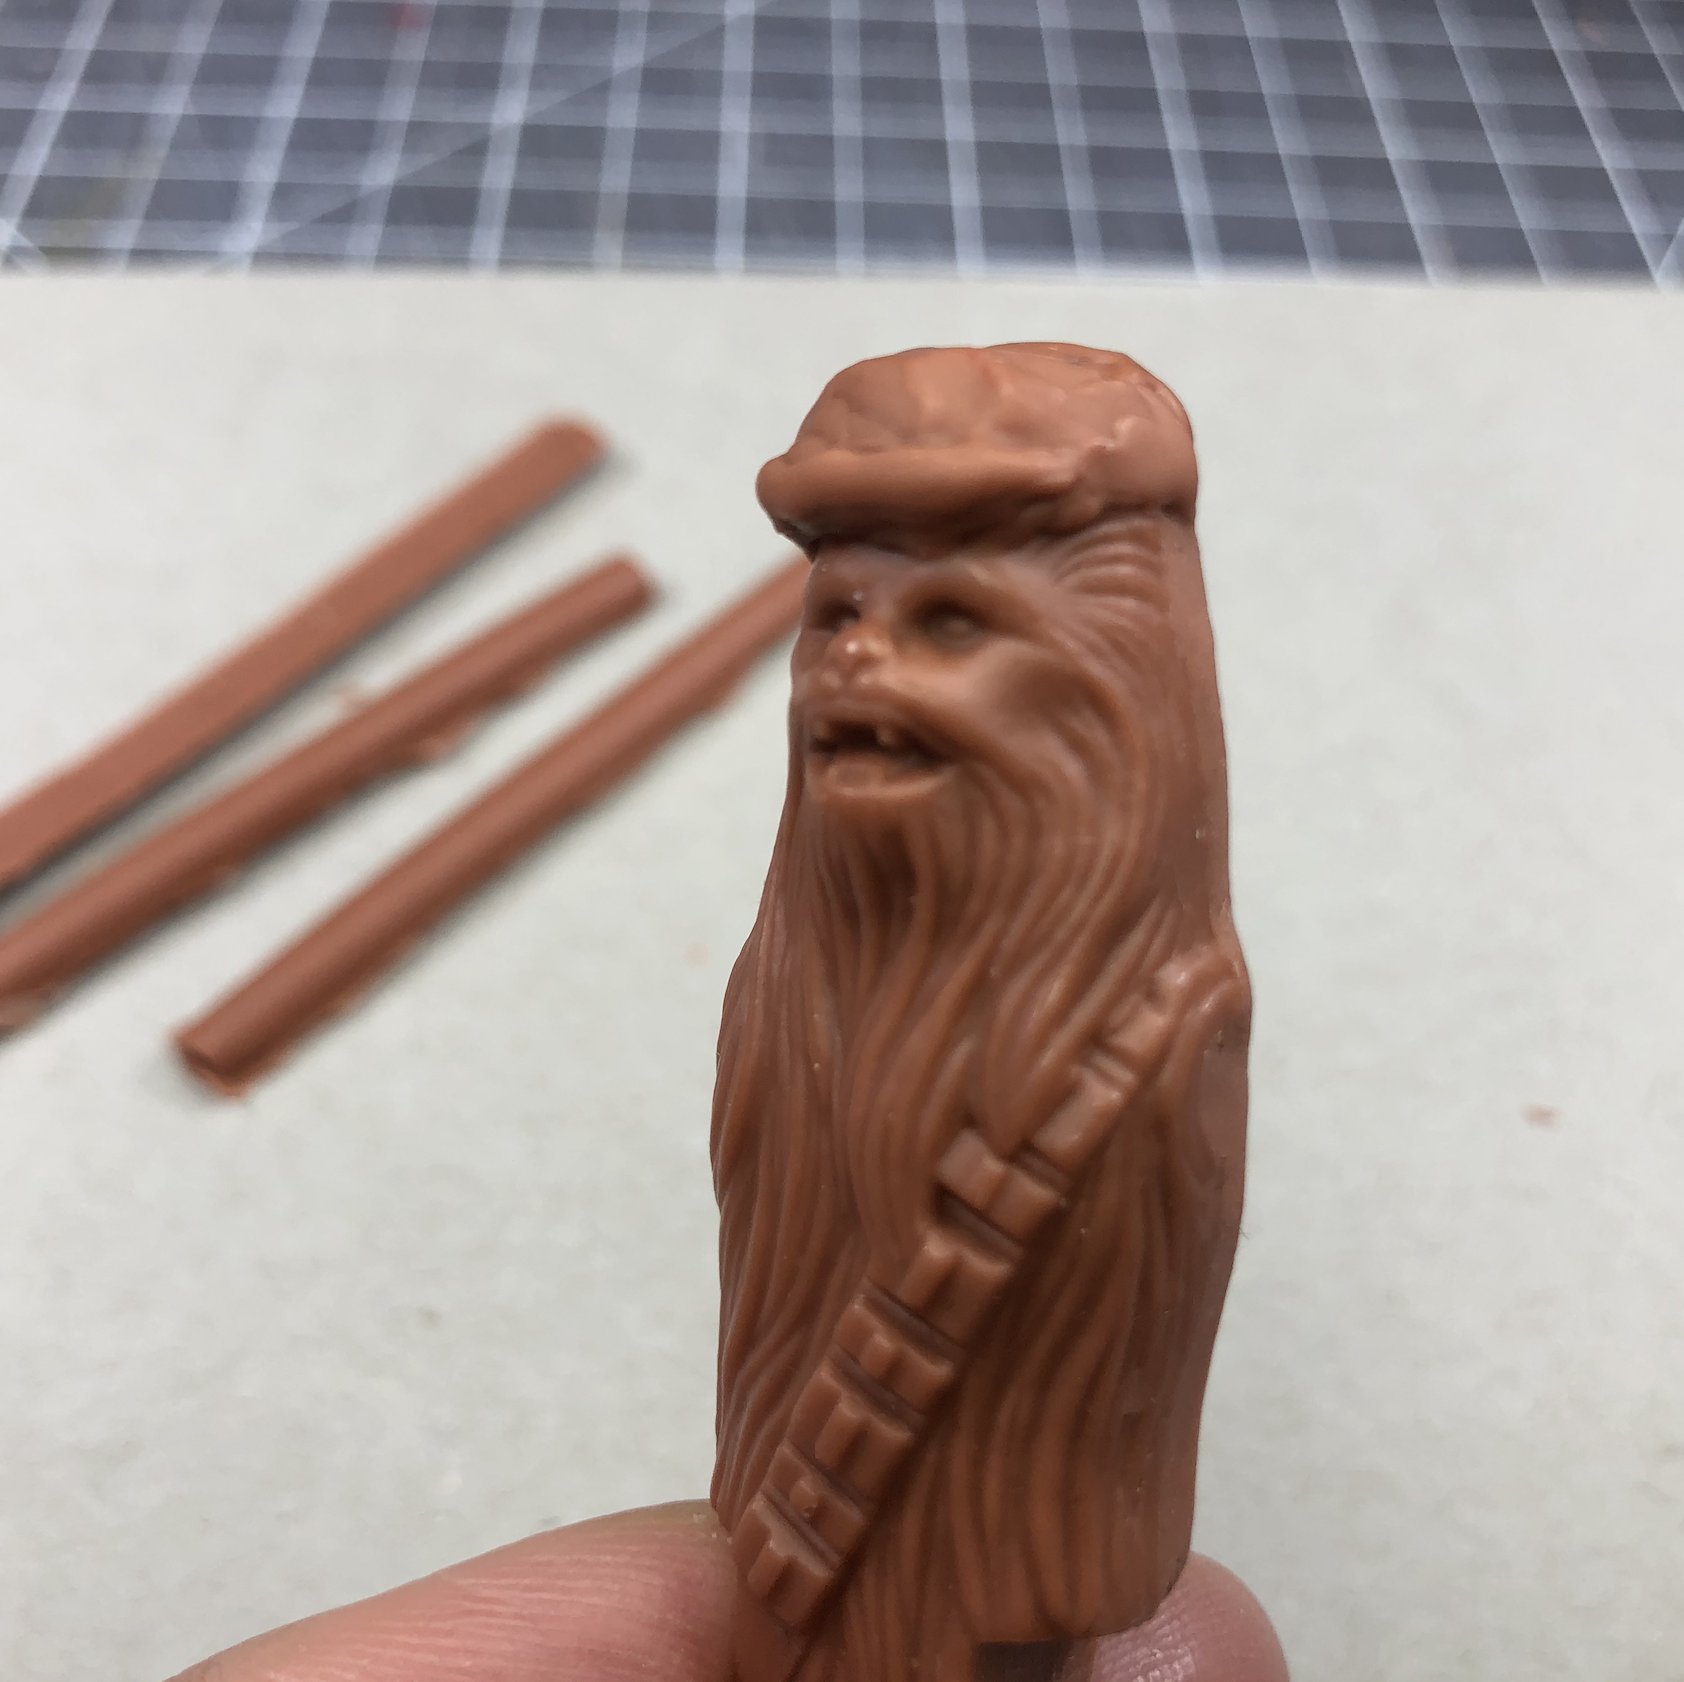
Adding a hat
! Warning – Be careful when using hot electric tools and working with open flames. Read all safety instructions that come with each device and any fuels.
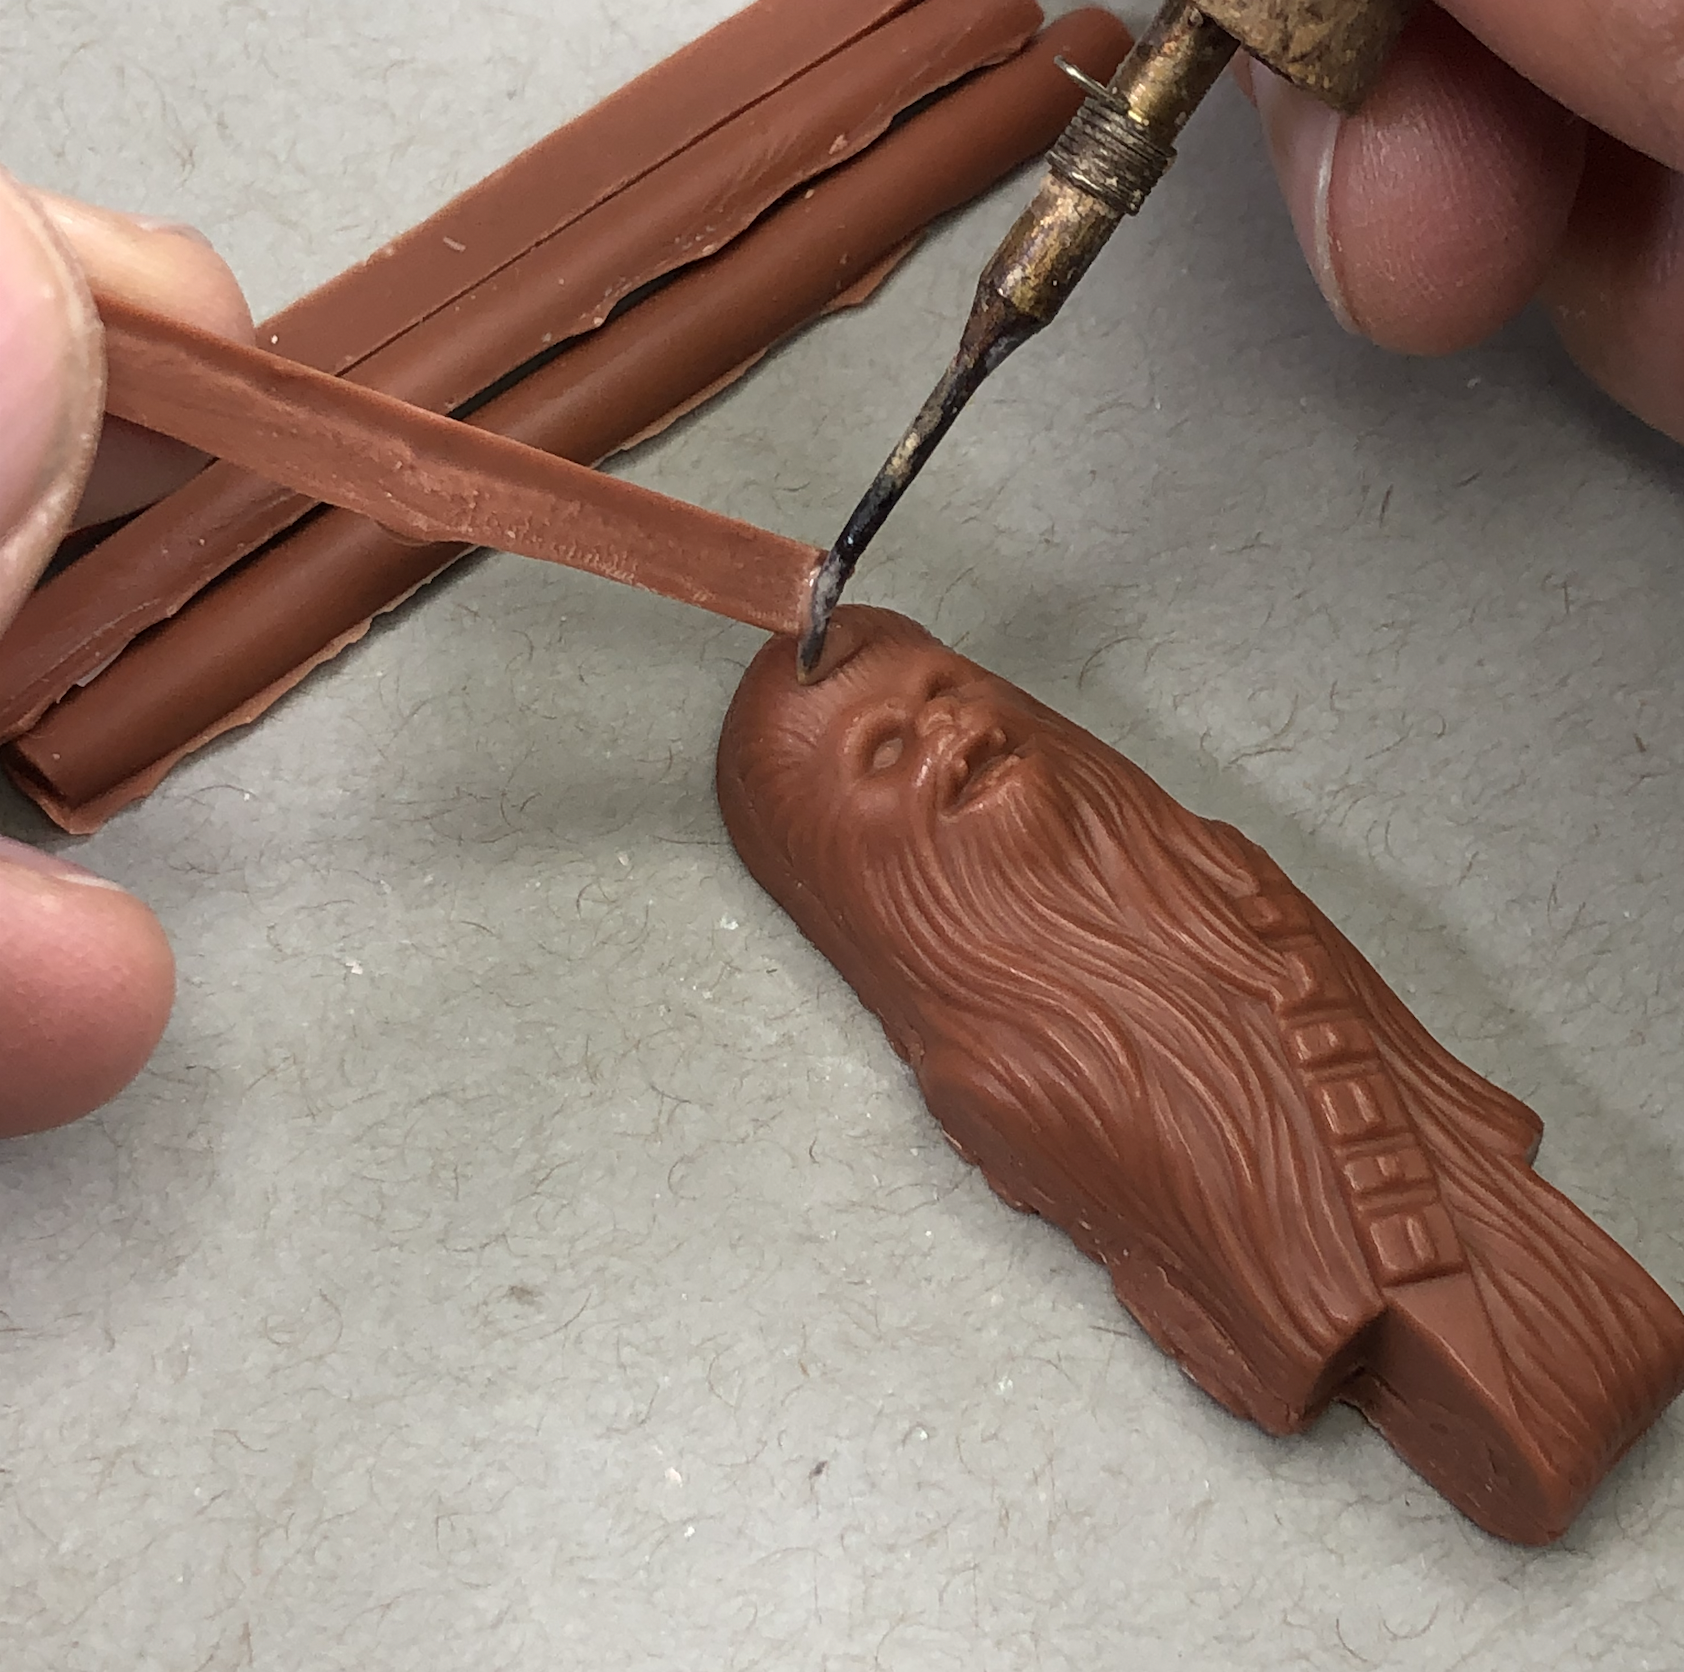
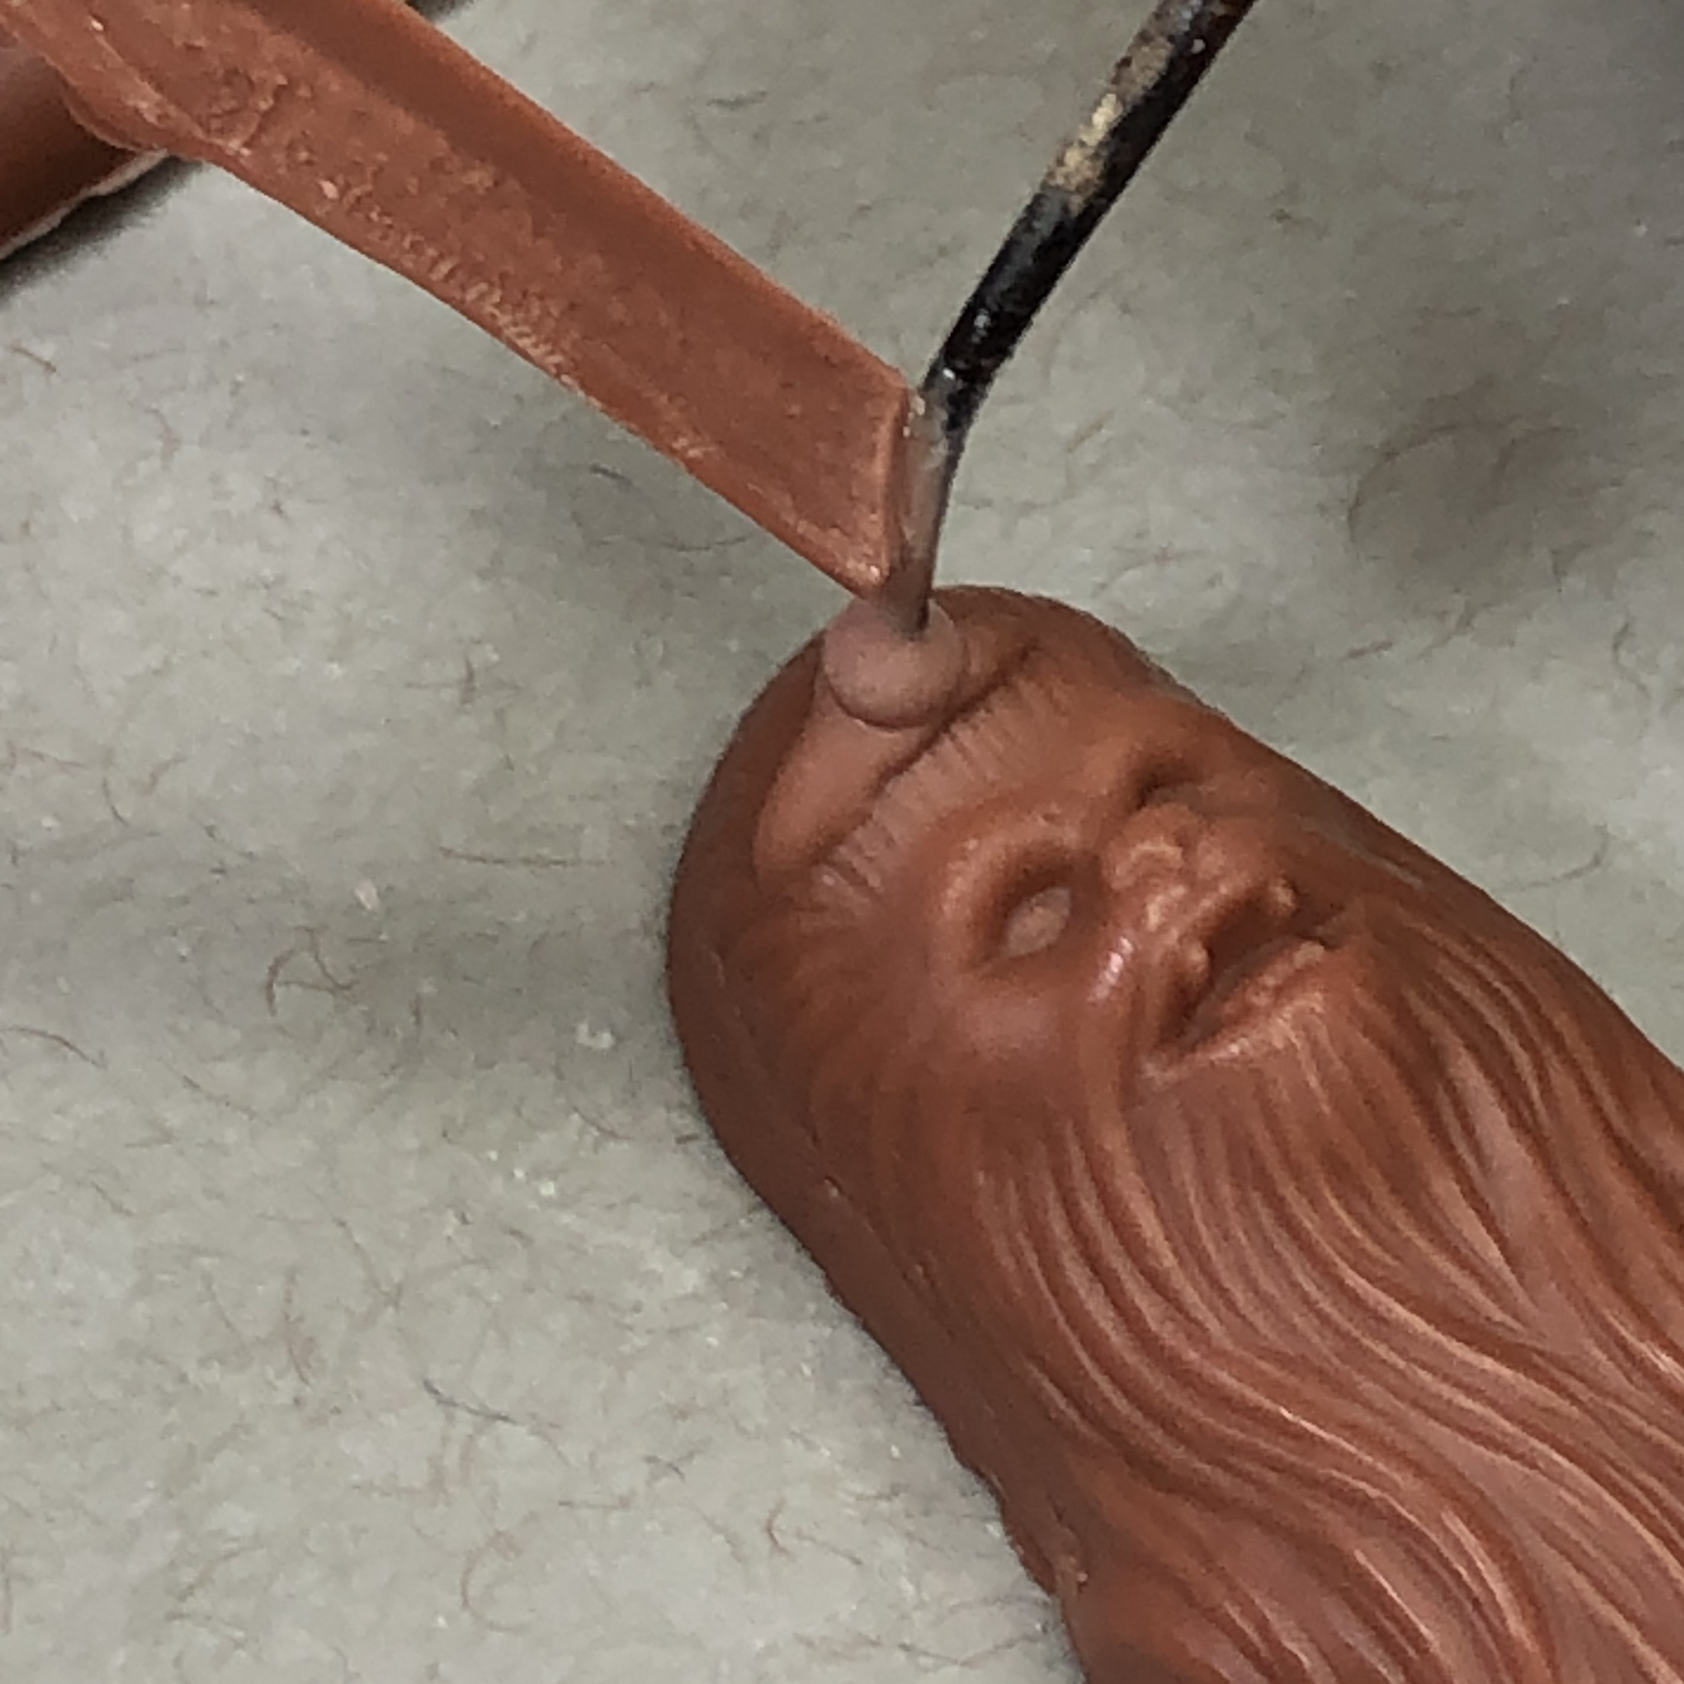
The goal is to use wax sticks to quickly add flowing clothing.
Press the model into a bit of clay to hold it in place
With a heated probe tool in one hand and wax stick in the other, touch the tool to the stick over the area of the model you want to add the wax. Be sure that the hot tool touches the surface of the model so that the new wax bonds with it.
Continue building up wax until it takes the shape of a hat

Making a wax stick mold
! Warning – Be careful melting wax ingredients. Read all safety instructions on heating devices. Never leave a hot device unattended. Avoid cooking over open flames. Hot wax can cause severe burns.
The goal is to make a reusable mold you can pour wax into.
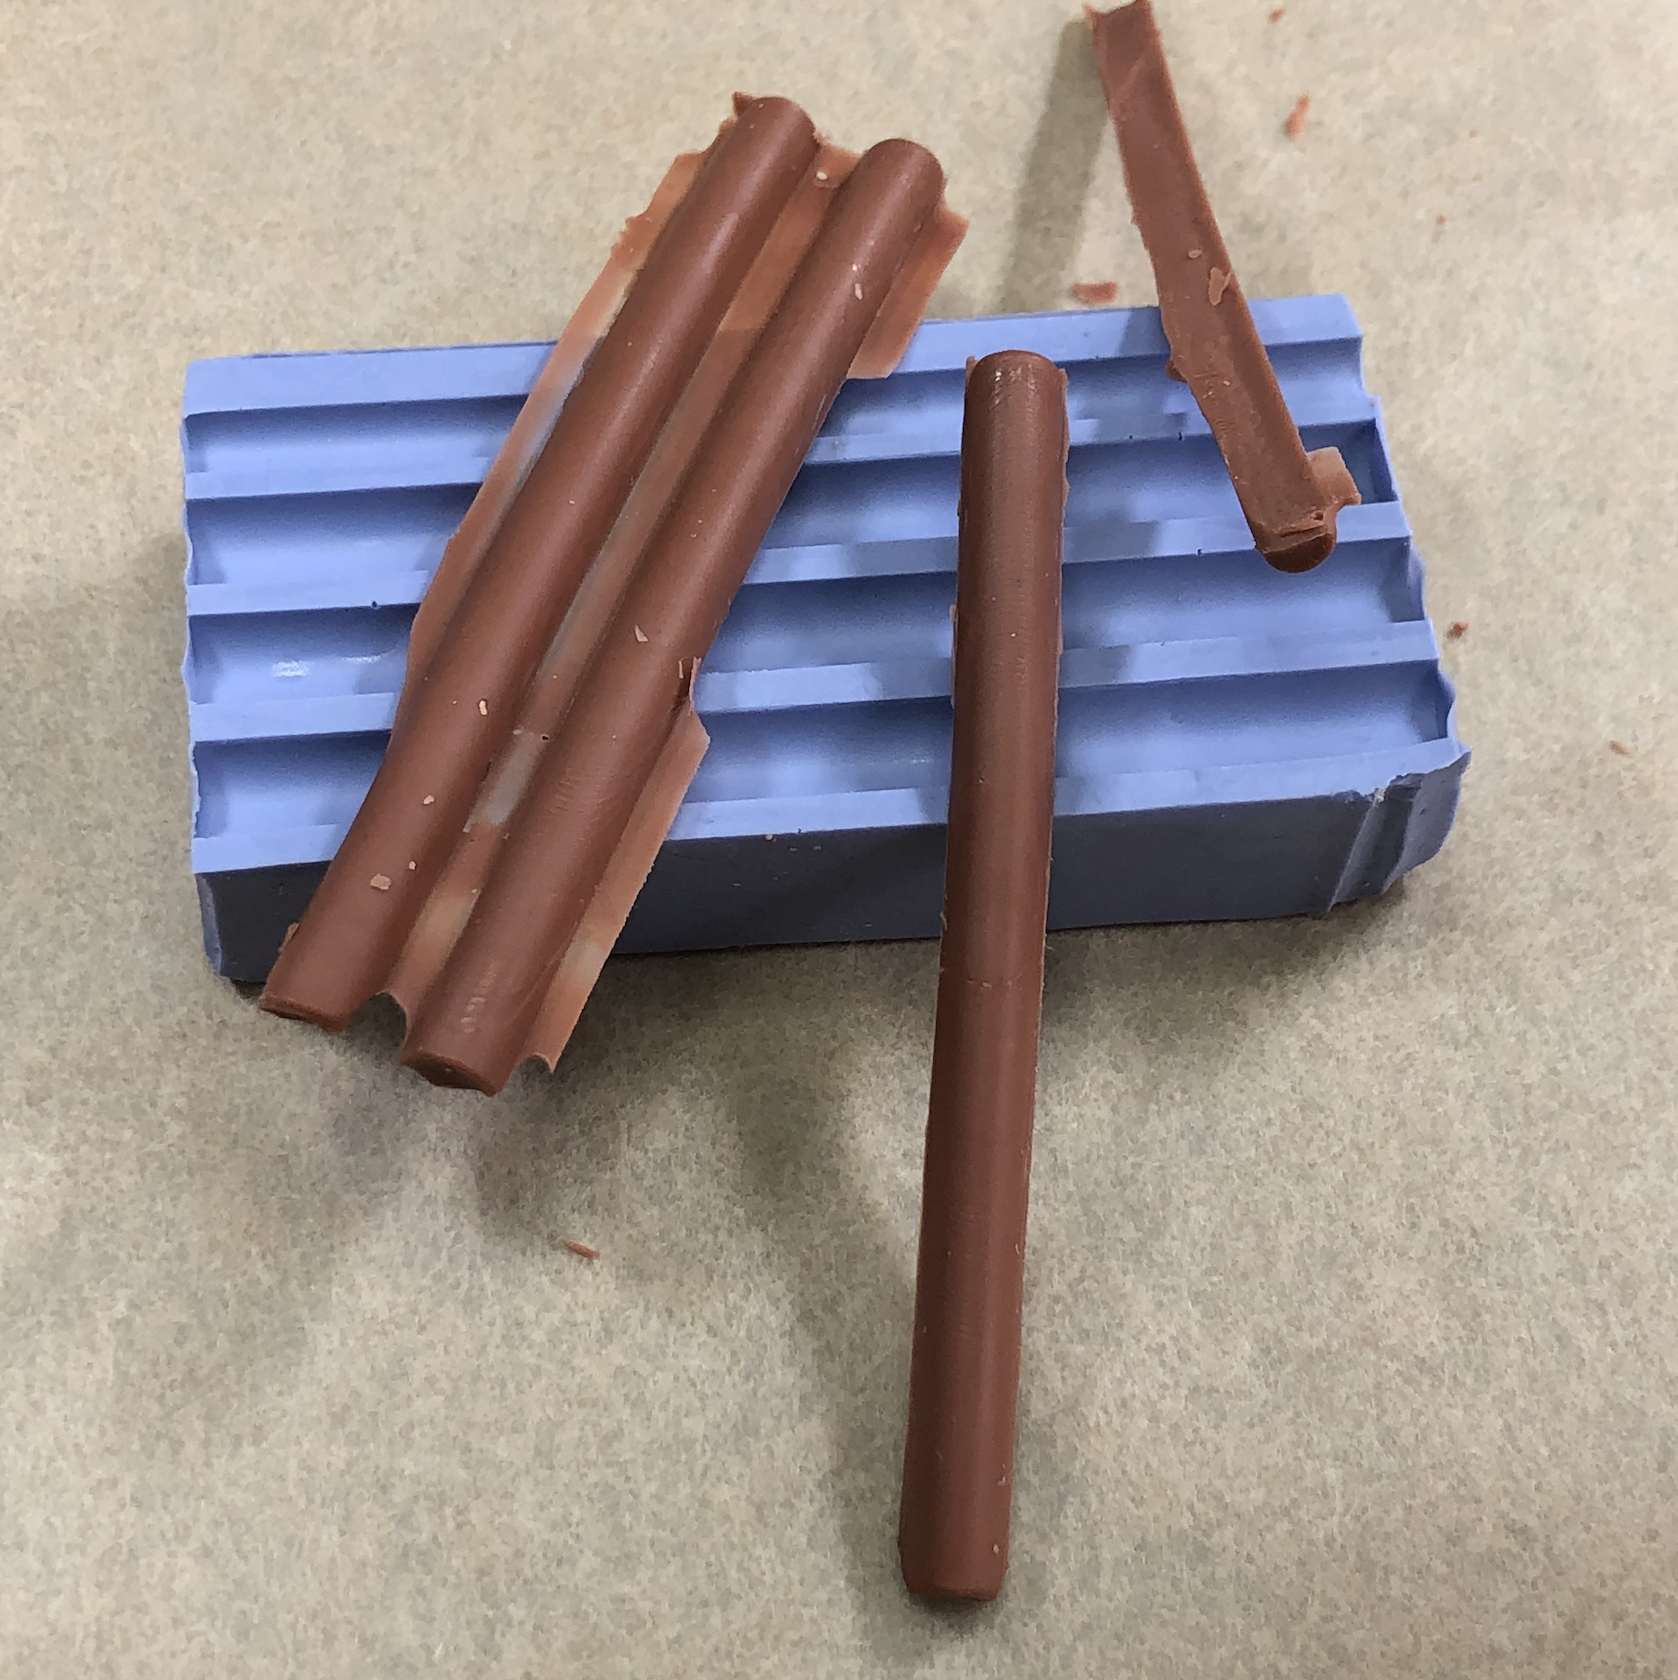
Roll out a flat piece of clay about a ¼” thick into a rectangle slightly larger than a credit card.
Cut 4-5 pencils to the length of the rectangle
Press the pencil pieces halfway into the clay along the length of the rectangle
Build up clay or cardboard walls around the 4 edges of the rectangle, about 1 inch high
Pour plaster of Paris or silicone into the mold. Let cure.
Remove the clay and pencils
Place the mold in spare plate lined with parchment paper
Melt the sculpting wax to just above melting point
Pour the wax over the mold
Use a wide scraping edge (eg. metal ruler) to remove the excess wax
Remove the sticks and throw the excess wax (already cooled) back into your melting pot


